Showing posts with label home decor. Show all posts

Friday, October 24, 2014

Fall Home Tour: 2014


Welcome to my long overdue, ever changing 2014 Fall Home Tour!

I'm not sure why, but I always struggle with decorating for fall. Although it's my favorite time of year, I never feel like my fall decorations measure up to what I had in my head. Christmas is so easy to decorate for because you just throw ornaments into every bowl, vase, and canister in the house. But shouldn't fall be the exact same only substituting ornaments for pumpkins? 

Despite my difficulties, I am finally satisfied enough to show off my fall-ified home. 


When decorating the living room, I tried to keep all the blue and just add pieces of orange where ever possible. I started with the orange pillows and just continued from there. 


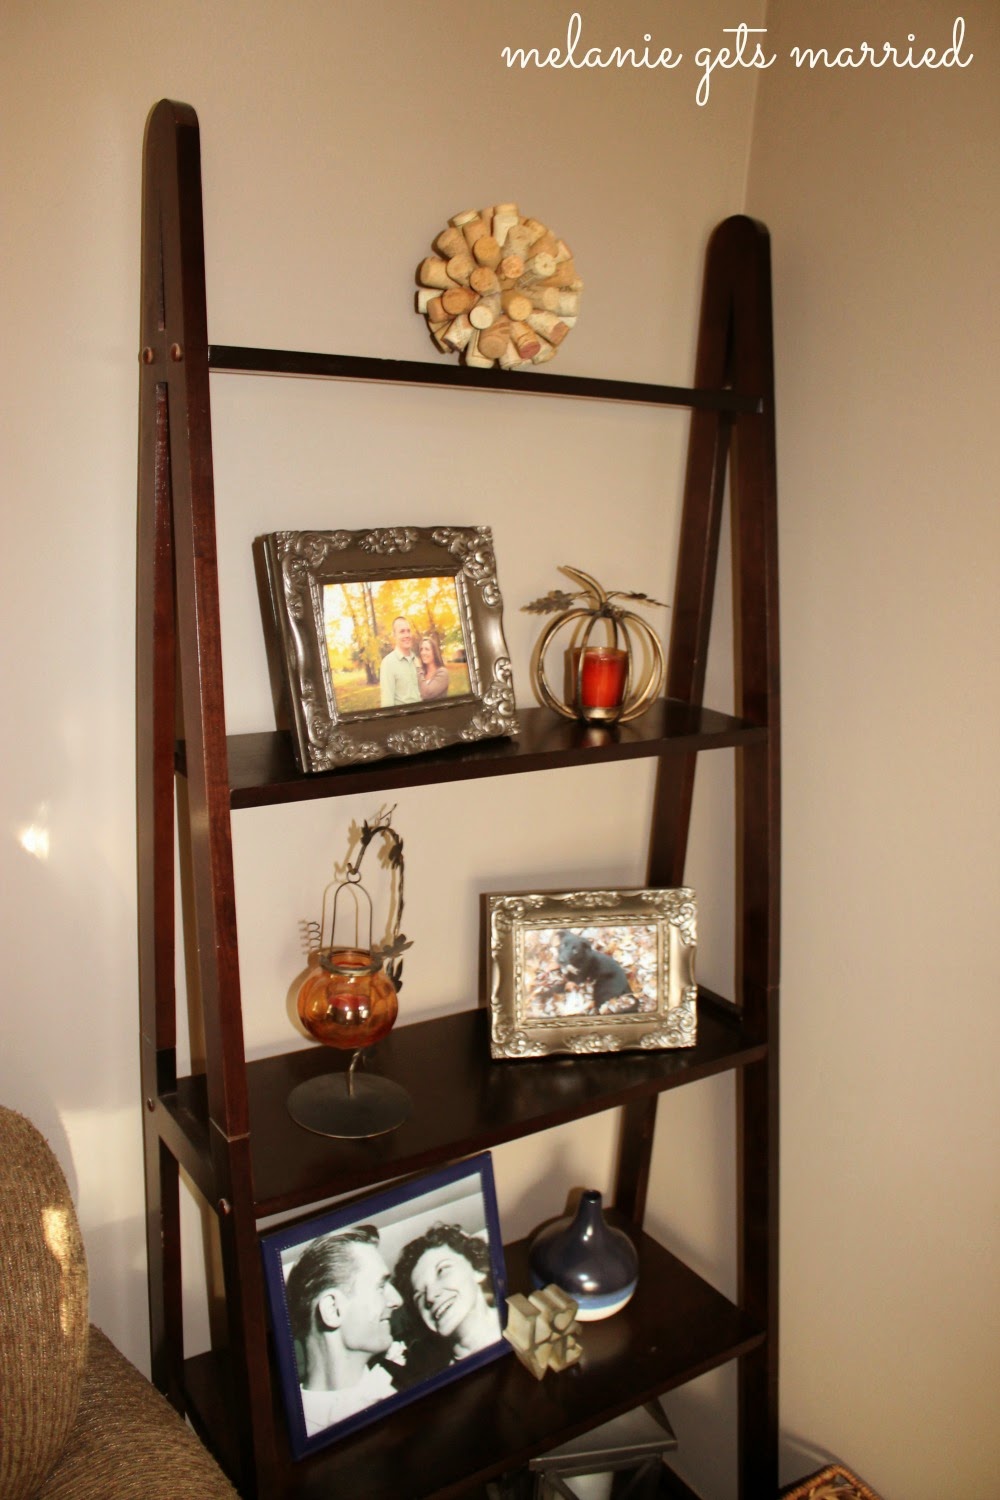
I always love to bust out some of our fall photos during this time of year. These two have been used for the past few years: one of our engagement photos and Lucy as a puppy laying in the leaves.


Next up, I made my fall vignette, trying to stick to using mainly orange. 


CONFESSION: DIYer fail, I didn't actually make anything included in the vignette (besides the printable), but what can I say? School has been keeping me crazy busy! I did get creative and fill some vases with popcorn kernels and a fall scented candle, though, doesn't that count? 


For the dinette, I decided to use gold instead of orange. I really like how all of this came together. The shelf, ampersand and vases were all things I had in the house and I just added the garland and mason jars to make it look more complete.

I was hoping to crochet an orange blanket to use during the fall as well, but there are just not enough hours in the day. I guess there's always next year!  

Want to see more?
Check out last year's Simple Fall Vignette here. 
Want to skip Fall and head straight to Christmas? Check out my Christmas Home Tour here.

Happy Friday!!


Friday, September 26, 2014

Fall Inspired Fabric Balls


These fabric balls are a great way to use leftover fabric, and after making some orange pillow covers over the weekend, leftover fabric I had. I used the orange fabric from the pillows and threw in some blue and grey as well. Because of the navy and light blue that I already have in my living room, I am trying to incorporate those into my Fall decor this year. So far, I am loving the way the oranges and blues look together. 

To get the full tutorial on how to make these adorable fabric balls, you can check out my St. Patrick's Day post from a while back (here). While I was way less than exact with my measuring and cutting this time around, I still think they turned out pretty darn cute.


I am hoping to have all my Fall decorating done by next week to show you a mini Fall home tour. :::fingers crossed:::

Happy Friday!!


Monday, September 8, 2014

Gold Glitter Ribbon Garland


Football season is here, and finally so is the cooler weather! And since it is finally starting to feel like Fall around here, I felt it was only appropriate to get some of my fall projects going. 
Since we stayed at home and watched college football (FIRE UP CHIPS!) all afternoon, evening, and night on Saturday, I had a lot of time work on some things. Mostly, I crocheted (cooler weather=crochet season), but I did manage to squeeze in a few other projects as well. 


I found this gold glitter ribbon at Hobby Lobby a few weeks ago. I fell in love and just had to have it. I wish they had a brown though, that would have been the icing on the cake. Anyways, I wasn't quite sure what I was going to do with it when I bought it, but yesterday I decided to make some ribbon garland. I am loving ribbon garland lately, I just can't get enough of it. Such a simple, elegant look and it pretty much looks good anywhere! Who's with me?

I had twine already on hand, so it was a pretty inexpensive project. 


I cut each piece of ribbon to be one foot long and knotted it on the twine. Sixty pieces of ribbon later, this is what I ended up with! 


So quick, so easy, and such a fun look when it's all finished! 
If I did it all over again, I probably would have made my ribbon strips longer to cover more of the mirror. Oh well, there's always next time right? 


Who is looking forward to the cooler weather? Has anyone else started getting out their Fall decorations?

Happy Monday!


Wednesday, August 27, 2014

Wood Plank Coffee Table


I had been wanting to switch out our coffee table for a while. There was nothing wrong with the coffee table we had, I was just ready for a change and envisioned something that matched both our entertainment center and our bench.

Since I am always terrified of ruining our furniture when doing a makeover. I always try to makeover our older pieces, or pieces people have given us (usually those hanging around in the basement). So when I decided to do a coffee table makeover, it's no surprise that I used the basement's coffee table and put the other one in its place.


This coffee table was still in pretty good shape as well, it just wasn't really my style. While plain and do-able for a basement, I wanted to create something amazing for the living room. 

what you will need:
paint of your choice
wood stain and poyurethane
7-1x4's
sander
wood glue

Our first step was to lightly sanded the top of the coffee table to ensure the wood glue would stick properly and then I painted the bottom. I used Folk Art's Chalk Paint in White Adirondack, as well as their Clear Wax. I ended up needing two coats of the chalk paint before waxing. 


While I was painting, I enlisted my husband to cut the 1x4's to a length that just fit over the coffee table. He sanded all the edges and curved them a little bit for me as well. Once he was down, I stained all the wood. 

Once everything was dry, we used very generous amounts of wood glue to put the planks in place. We also used my school books and some weights to hold all the planks down while the glue dried. We waited to put the polyurethane on until the glue had dried and we could remove the books and weights without shifting the planks. Another 24 hours for the polyurethane to dry, and our wood plank coffee table was complete!


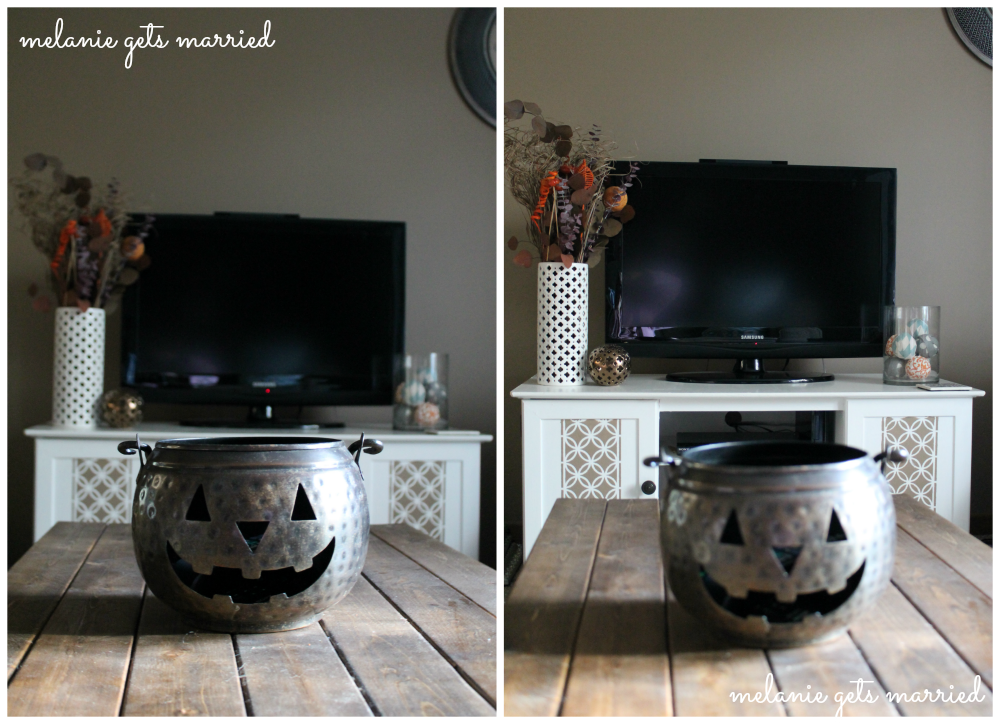
I think that it really does tie in well to the rest of the living room, it matches the TV stand and bench nicely as well. Now that I've made the coffee table, I want to make some end tables to match! In fact, the matching end tables for the coffee table are in my basement too!

Now if I could just figure out that funky corner where the shelf is, we'd be all set!


Happy Hump Day, friends!


This post was featured at:

Delineate Your Dwelling         Burlap and Babies

The Bajan Texan
Related Posts Plugin for WordPress, Blogger...